This article is the continuation of the Powertec Power Rack System Review.
After I left Fitness Nutrition with a 50.00$ deposit for the labour to take out the equipment out of inventory, I went home eagerly waiting for the next day to arrive so I could pickup the rack. Luckily for me, the day went by fairly quick. At around 7 PM, I greeted Nick (the guy who sold me the equipment) and we passed my credit card again for the full payment minus the deposit the day before. After the transaction had passed, I was instructed to bring my car around the back next to the loading bay. Once at the garage door, it was a game of Tetris to load up all the pieces into the vehicle. There were about 5 big boxes (2 for the rack, 2 for the lat-machine addon and 1 for the bench) with a 7″ Olympic bar and 2 tire mats for floor protection (the floor mats weigh a ton!). Everything fit in the car nicely, and before I knew it, I was the owner of a Powertec rack.
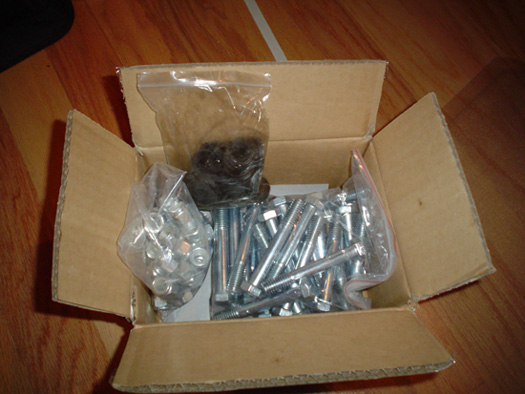
With a pleasant drive home, I backed up the car to my garage and started unloading the boxes. Piece by piece, I brought everything downstairs into the room where the equipment was going to be housed. Since I was tired that day, I told myself I would assemble the rack another time. Fast forwarding to a few days later, I got off my ass and started assembly of the rack. I noticed before the build that I was missing some tools (the socket ratchet out of all things…) so a quick trip to Canadian Tire lead me to some new Mastercraft sockets and wrenches.
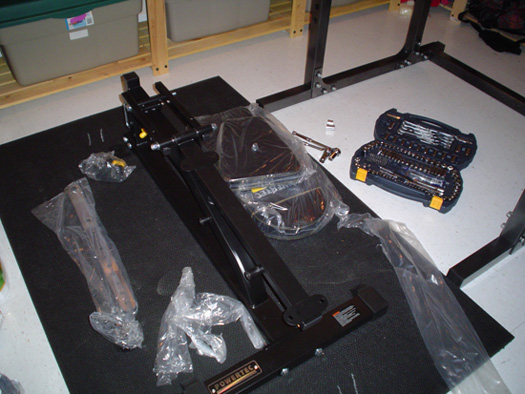
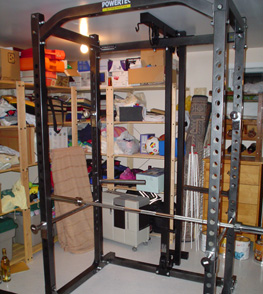
I have to say it… the pieces that make up this rack are all solid, high quality stuff. Putting this whole thing together was a joy I must admit (I’m a assembly-fiend mind you… starting with Legos as a child). The whole rack, when assembled, was 82″ from top to bottom. My ceiling is 83 and 3/4″ high, so a problem was now apparent: the lat-machine add-on was not going to fit, as it took up another 2-3″ of height that I did not have. Actually, the problem was only during the installation phase of the rack, as I didn’t have any workable ceiling height to slide the two metal rods into place and tighten them at the top (besides this, the rack would have fit in 83.75″ of space without a problem). An “Uh oh” ran through my mind, shifting my mood altogether to anger. Not knowing what to do, I decided to sleep on the matter and let my mind do some thinking. I had several solutions come up the next day: 1) I could either try to assemble the lat system on the floor [didn’t work], 2) I could make a small rectangular cut in the ceiling for the installation [decided against it, even though parents were cool with it] and 3) move the gym system to another location [chosen solution]. At this point, I have no other room in the house where the rack can be housed. The only viable solution, which will only be available in two months, is when I clean up the garage and put the equipment in the back. Right now, there is a mountain of useless junk taking up valuable gym space. When spring rolls around, I will be doing some IKEA shopping and build some nice metal shelves around the garage to organize everything. Till then, I have decided to work without the lat equipment and simply stick to my original exercises (squat, dead-lift, power clean, bench press and shoulder press).
Regardless of the situation, the rack is excellent overall, except for one thing: the upper metal supports (which are a measly 4″ long) are just that… not long enough. I’m used to the 10″ long metal brackets at my ex-gym (Monster Gym) but I guess I’ll eventually adapt to them. Anyway, the Powertec rack is sturdy, well built and does not shake or rattle when handled. The Powertec Utility Bench is also well built, but I must say that I am not a fan of the side-adjusting lever/piston. I still haven’t tested the equipment mind you, as I don’t have any Olympic weights (picking them up soon). I guess a Part 3 of this review is needed. 🙂
3 thoughts on “Powertec Power Rack System Review: Part 2 of 2”
Comments are closed.